A walk-in shower — a step-in or curbless enclosure that replaces a traditional tub-shower combo — has become one of the most requested changes in Southwest Washington bathroom remodels. Part of it is style: open, glass-forward showers read larger and more modern than a boxed-in tub surround. Part of it is practical. Fewer households are bathing children in a tub daily, and more homeowners want a bathroom that will still work for them in twenty years without a second remodel.
But the decision that gets the least attention up front — and matters the most once the project is underway — is how the shower handles water. Clark County sits in a wet marine climate with rain most months of the year and consistently high relative humidity indoors. A walk-in shower has more open floor area exposed to spray, and it usually removes the one thing (a tub wall) that used to contain splash on its own. Getting the threshold, slope, waterproofing, and ventilation right is what makes an open shower a long-term win instead of a moisture problem waiting six months to show up.
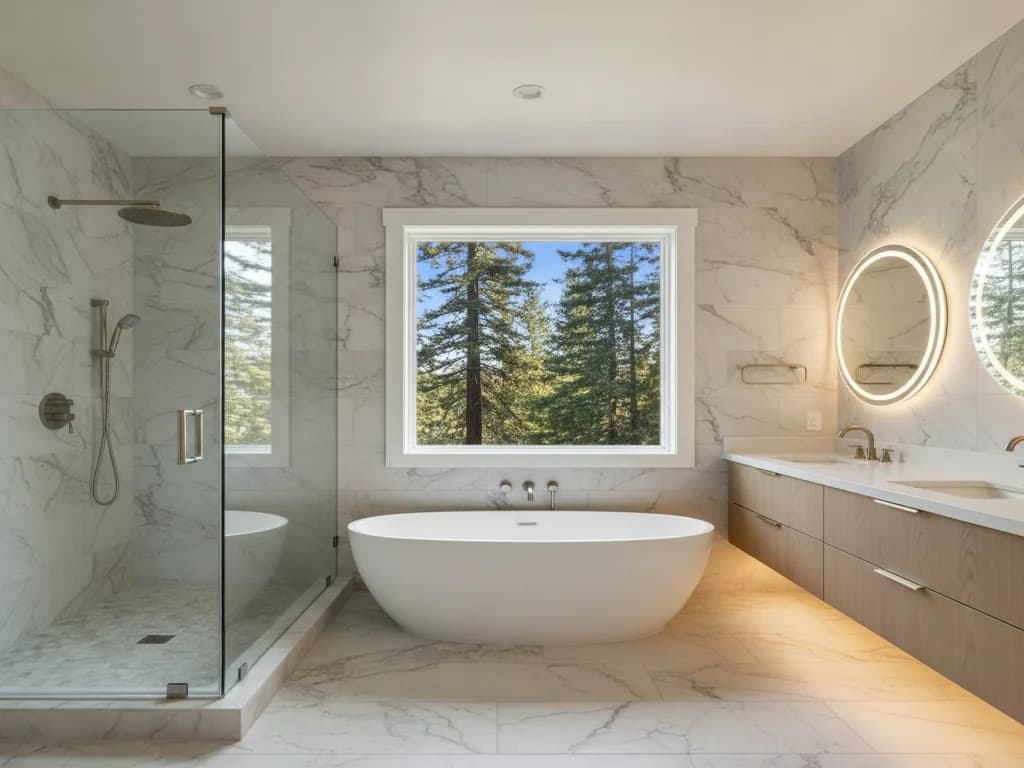
The single biggest fork in the road is whether the shower is fully curbless (a flush, zero-threshold entry) or built with a low curb (a small step, typically 2 to 4 inches). Both can look nearly identical from the doorway once tile and glass are in — the difference is what's happening under the floor.
Curbless
- Zero-threshold entry — no step to catch a foot or a mobility aid.
- Reads as one continuous floor plane, which visually enlarges a small bathroom.
- The long-term standard for aging-in-place and universal-design bathrooms.
- Pairs naturally with a linear drain along one wall instead of a center drain.
- Requires lowering or re-framing the subfloor so the shower pan can slope to drain without a curb — real structural work, not a cosmetic swap.
- On a slab-on-grade bathroom this may mean saw-cutting and re-pouring a section of slab.
- Needs a well-designed glass or half-wall barrier to keep water contained without a curb to stop it.
Low-Curb
- A 2-in. to 4-in. curb is easier to retrofit into an existing framed floor without major structural changes.
- Still gives an open, glass-forward look with less demolition than a full curbless conversion.
- A lower cost path to a modern shower look than a full floor re-frame.
- Still a step, which matters for households planning to age in place.
- Doesn't achieve the fully flush, walk-through look of a true curbless design.
As a rule of thumb, a curbless shower needs roughly 4 to 6 inches of usable depth below the finished floor to build the sloped pan — which is why the choice often comes down to what your existing floor structure allows, not just preference.
Southwest Washington's wet, mild climate means the air inside a closed bathroom door rarely dries out completely between showers, especially in fall and winter when outdoor humidity is already high. An open, curbless shower increases the exposed wet surface area compared to a boxed tub surround, which makes two things non-negotiable: a continuous waterproofing membrane behind every tiled surface, and an exhaust fan sized and vented correctly for the room.
We treat these as a system, not two separate line items. The membrane keeps bulk water out of the wall and floor assembly; the ventilation clears the humid air the shower generates so what moisture does reach the tile surface dries quickly instead of sitting against grout lines and framing. Skip either one and the other has to work twice as hard.
Once the waterproofing and drainage plan is set, the visible layer is where the shower gets its character. Large-format porcelain tile with fewer grout lines is a popular, low-maintenance choice for shower walls; a slightly textured floor tile or small-format mosaic on the pan floor adds slip resistance where it matters most. Framed, semi-frameless, and fully frameless glass all handle a curbless entry differently, and the hardware finish is worth matching to your vanity fixtures for a cohesive look.
We walk through tile and glass selection with every walk-in shower client, because the material choice and the waterproofing plan are made together — a heavy stone tile, for example, changes the substrate and membrane requirements compared to a lightweight porcelain panel.
A walk-in shower conversion that touches plumbing, electrical, and structural framing typically requires permits from your local jurisdiction — Vancouver, Clark County, or one of the surrounding cities, each with its own permit center. As a Washington L&I-registered, bonded, and insured contractor, we pull and manage the permits your project needs rather than leaving that step to you.
Timeline depends heavily on whether the floor needs to be re-framed for a curbless entry. A low-curb glass shower in an existing footprint moves faster than a full curbless conversion with subfloor work, tile, and glass. We lay out a realistic schedule — including waterproofing cure time, which cannot be rushed — before work begins.