A wet room takes the idea of a curbless shower and extends it to the whole bathroom — walls and floor throughout the room are tiled and waterproofed as a single continuous system, so there's no enclosure, no curb, and often no separate shower pan at all. Water is simply allowed to fall where it falls, and the entire floor is built to slope gently toward a single drain.
It's a genuinely different way to build a bathroom, not just a stylistic choice. Every wall and floor surface has to be treated as a potential wet surface, because in a wet room, it is one. Done right, the result is an open, barrier-free room that's easy to clean, ages well for accessibility, and reads as a small spa. Done wrong — with waterproofing that stops at an arbitrary line instead of covering the whole room — it's one of the more expensive mistakes to fix, because the failure is usually hidden behind tile until it isn't.
A wet room's waterproofing is built on the same principles as a shower pan, just applied to the full room rather than a defined stall:
- The membrane extends across the entire floor and up every wall to a consistent height, not just inside a shower zone — there is no line where waterproofing simply stops.
- Every penetration (drain flange, valve body, niche, any wall-mounted fixture) is sealed individually, since these are the failure points in any tanked room.
- Inside corners and the wall-to-floor transition get reinforced with waterproofing tape or fillet seal before the membrane goes over them.
- The whole-room membrane is flood- or moisture-tested before tile goes down, the same way a shower pan is tested, because a wet room gives you no second look at what's underneath once it's finished.
Instead of one localized slope inside a shower pan, a wet room floor slopes subtly across the entire room — commonly a similar quarter-inch-per-foot grade — toward a single drain, usually positioned centrally or along a wall. Getting that slope right across a large continuous floor is more demanding than building it into a small shower pan, and it's a big part of why wet room conversions are floor-framing projects, not just tile projects.
In many Vancouver-area homes, achieving that slope means adjusting the subfloor height or, in some cases, modifying floor joists to route the drain line and build in the pitch, especially on a slab-on-grade or crawlspace foundation where the existing floor sits close to the finished level of the room outside the bathroom. We assess the existing structure before scoping this work, since it affects both cost and the transition height into adjoining rooms.
An open floor plan is the whole appeal of a wet room, but a few layout choices shape how it actually lives day to day:
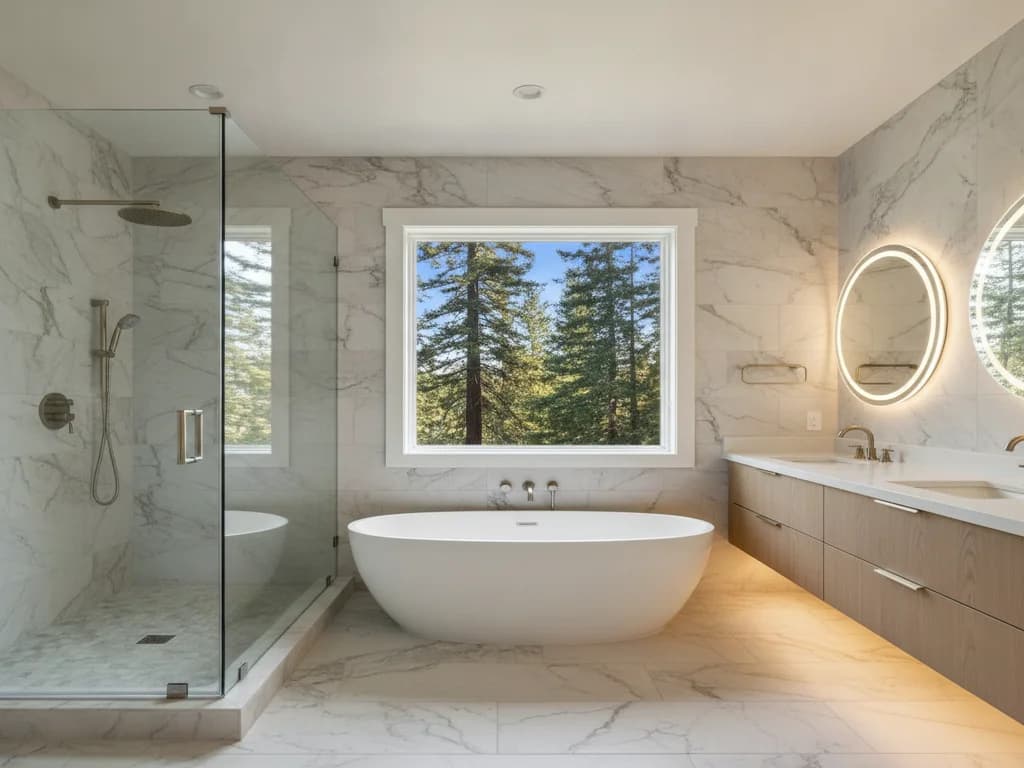
- A glass partition (fixed panel or half-wall) is optional, not required — it can shield the vanity or toilet from direct spray while keeping the open, barrier-free floor plan a wet room is known for.
- Fixtures, including a freestanding tub, sit fully within the waterproofed envelope, since anything in the room can get wet.
- Heated floors pair naturally with a wet room, since the entire floor gets wet regularly and a heated slab helps it dry faster and stay comfortable underfoot.
- Door and threshold detailing matters more than in a standard bathroom — the door needs to keep the room's water contained rather than letting it migrate to an adjoining hallway or bedroom, especially in smaller Vancouver-area homes.
Because a wet room has a much larger wet surface area than a conventional shower stall, it puts a heavier moisture load into the air at once — and in Southwest Washington's marine climate, where ambient humidity is already elevated much of the year, that room needs real help clearing that moisture before it settles into grout, cabinetry, or nearby framing. We size exhaust fans to the room's full wet footprint rather than to a bare code minimum, and we often recommend the fan run on an extended timer well after the room is in use, not just while someone is showering.